Swagger Testing
Test and explore your API endpoints using Endora's built-in Swagger UI. This interactive interface makes API testing simple and intuitive.
What You'll Learn
- Navigate the Swagger UI interface
- Test API endpoints interactively
- Understand request/response formats
- Authenticate and authorize requests
- Export API documentation
Swagger UI Overview
Learn how to use the built-in Swagger UI to test and explore your API endpoints.
Getting Started
What is Swagger UI?
Swagger UI is an interactive web interface that provides:
- API Documentation: Complete endpoint documentation
- Interactive Testing: Test endpoints directly in the browser
- Request/Response Examples: See real request and response data
- Authentication: Built-in authentication support
- Schema Validation: Automatic request validation
Authentication Setup
Authentication
Before testing endpoints, you need to authenticate:
- Register and Login in Auth User: Go to Auth user endpoint register or login to get access token.
- Click "Authorize": Find the "Authorize" button in Swagger UI
- Enter Access token: Paste access token in the field
- Click "Authorize": Confirm the authentication
Testing Endpoints
Basic Testing Process
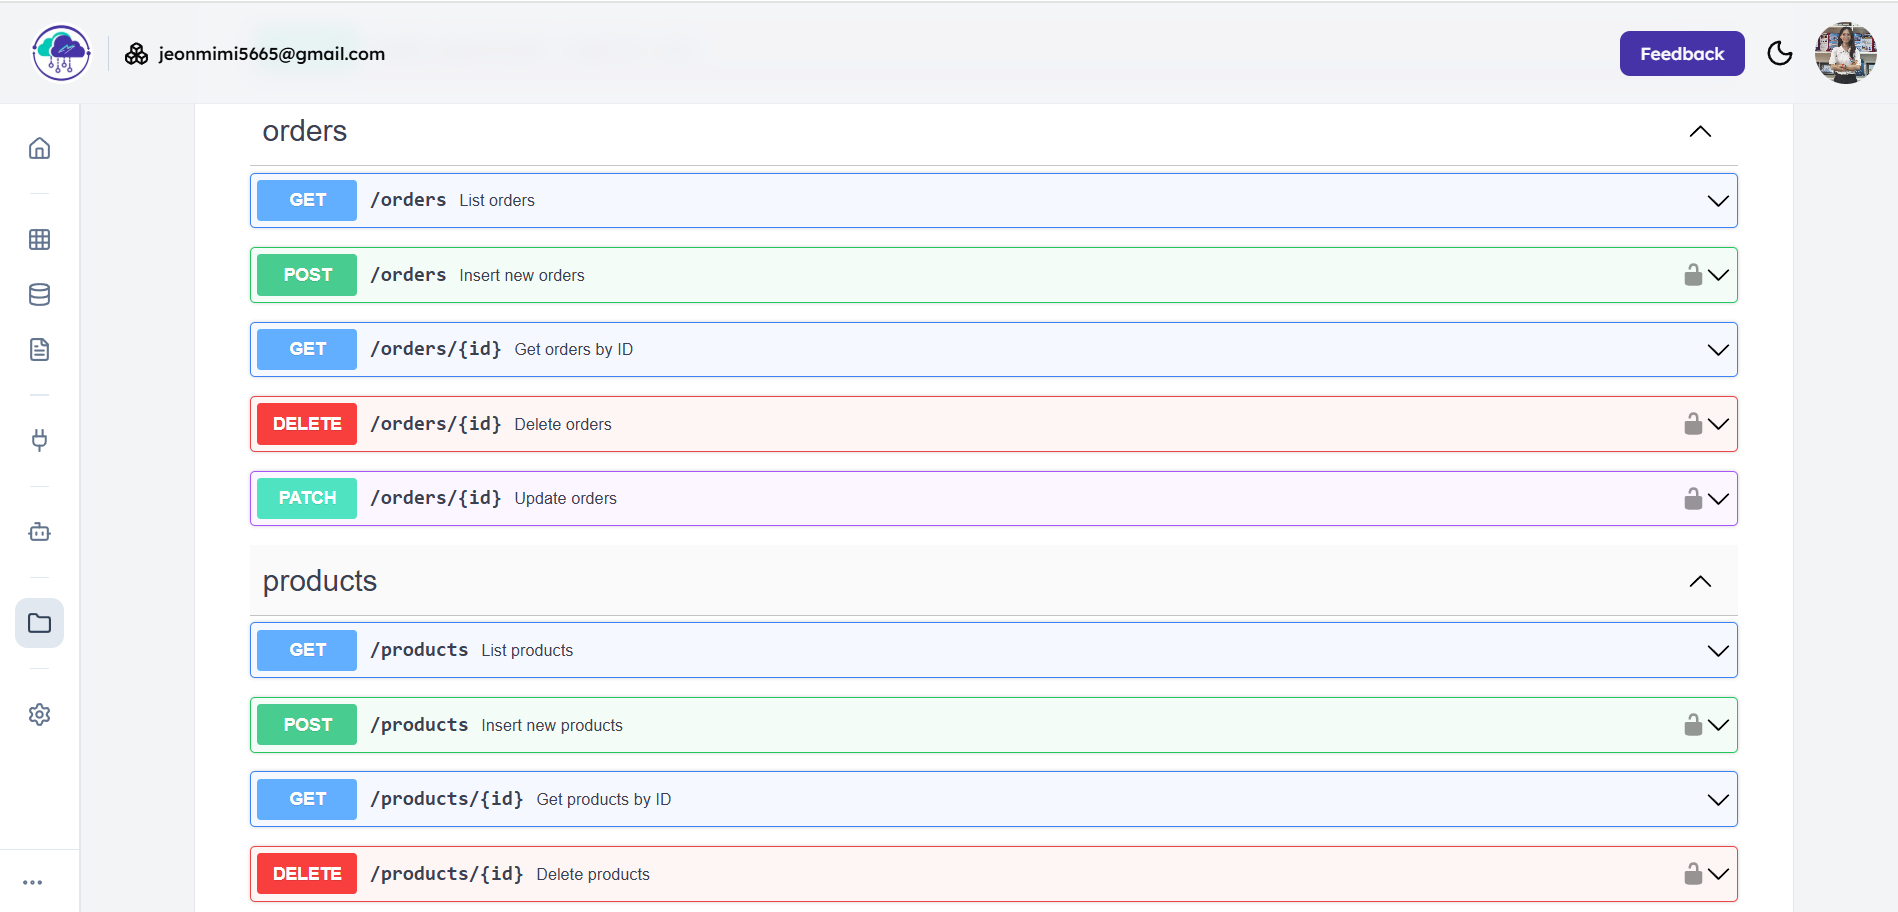
- Select Endpoint: Click on an endpoint to expand it
- Review Documentation: Read the endpoint description
- Click "Try it out": Enable the testing interface
- Fill Parameters: Enter required parameters
- Send Request: Click "Execute" to test the endpoint
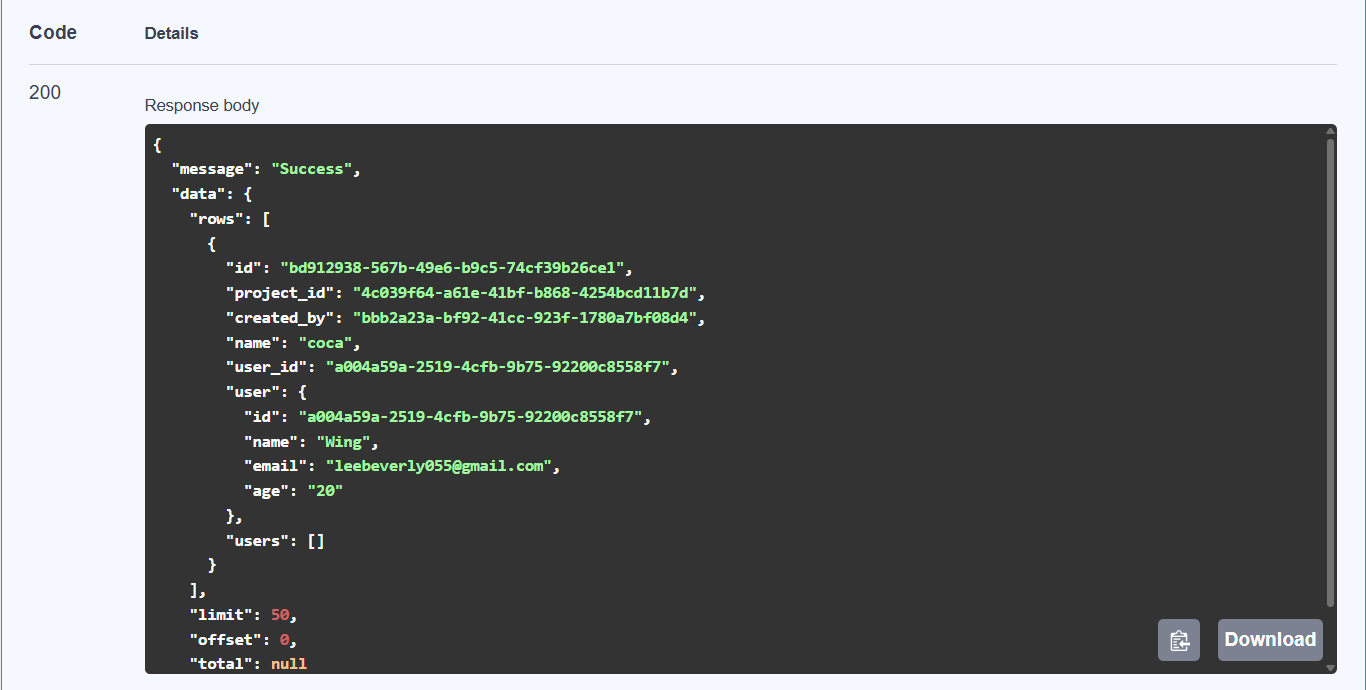
- View Response: Check the response status and data
Testing Different HTTP Methods
- GET: Retrieve data from your API
- POST: Create new records
- PUT: Update existing records
- DELETE: Remove records from your database
Endpoint Testing
Request/Response Examples
GET Request Example
GET /users
Authorization: Bearer your-api-key
Response:
{
  "success": true,
  "data": [
    {
      "id": 1,
      "name": "John Doe",
      "email": "john@example.com",
      "created_at": "2024-01-01T00:00:00Z"
    }
  ]
}
POST Request Example
POST /users
Authorization: Bearer your-api-key
Content-Type: application/json

{
  "name": "Jane Smith",
  "email": "jane@example.com",
  "age": 30
}
Response:
{
  "success": true,
  "data": {
    "id": 2,
    "name": "Jane Smith",
    "email": "jane@example.com",
    "age": 30,
    "created_at": "2024-01-01T00:00:00Z"
  }
}
Request/Response Examples
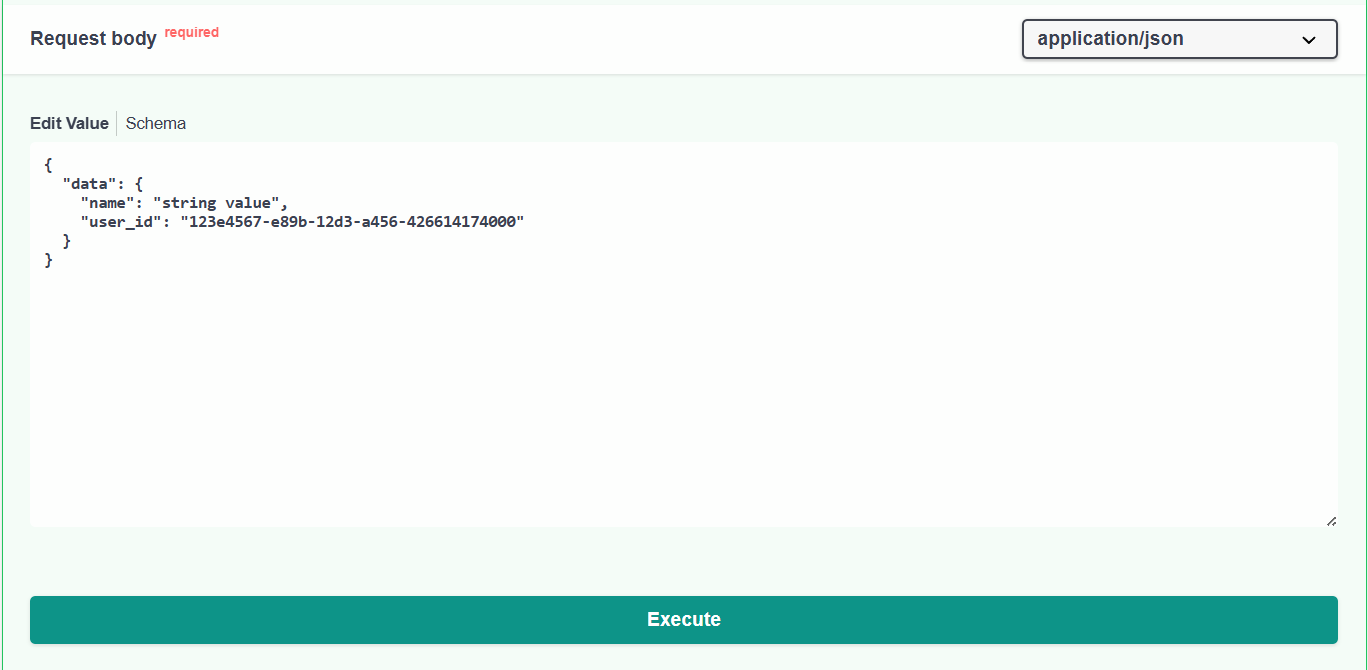
Request Body
Response
Advanced Testing
Request Body Testing
For POST and PUT requests:
- Select Content-Type: Choose application/json
- Enter JSON Data: Use the request body editor
- Validate JSON: Ensure proper JSON formatting
- Test Different Scenarios: Try various data combinations
API Documentation
Generated Documentation
Swagger UI automatically generates documentation for:
- Endpoint Descriptions: Clear descriptions of each endpoint
- Parameter Details: Required and optional parameters
- Response Schemas: Expected response formats
- Error Codes: Possible error responses
- Examples: Sample requests and responses
Integration Options
- Postman: Import OpenAPI spec into Postman
- Insomnia: Use with Insomnia REST client
- Code Generation: Generate client code
- API Gateway: Deploy to API gateways
Best Practices
Testing Strategy
- Test All Endpoints: Verify every endpoint works
- Test Error Cases: Validate error handling
- Test Edge Cases: Check boundary conditions
- Document Findings: Keep notes of test results
Documentation Maintenance
- Keep Updated: Update documentation as API changes
- Add Examples: Include realistic examples
- Describe Errors: Document common error scenarios
- Version Control: Track documentation changes
Next Steps
Now that you can test with Swagger UI:
- Test All Endpoints: Verify every API endpoint
- Document Issues: Note any problems or improvements
- Share with Team: Collaborate on API testing
- Integrate with Development: Use in your development workflow
Your API testing is now comprehensive and professional!